- Sep 04, 2025
Share this post on:
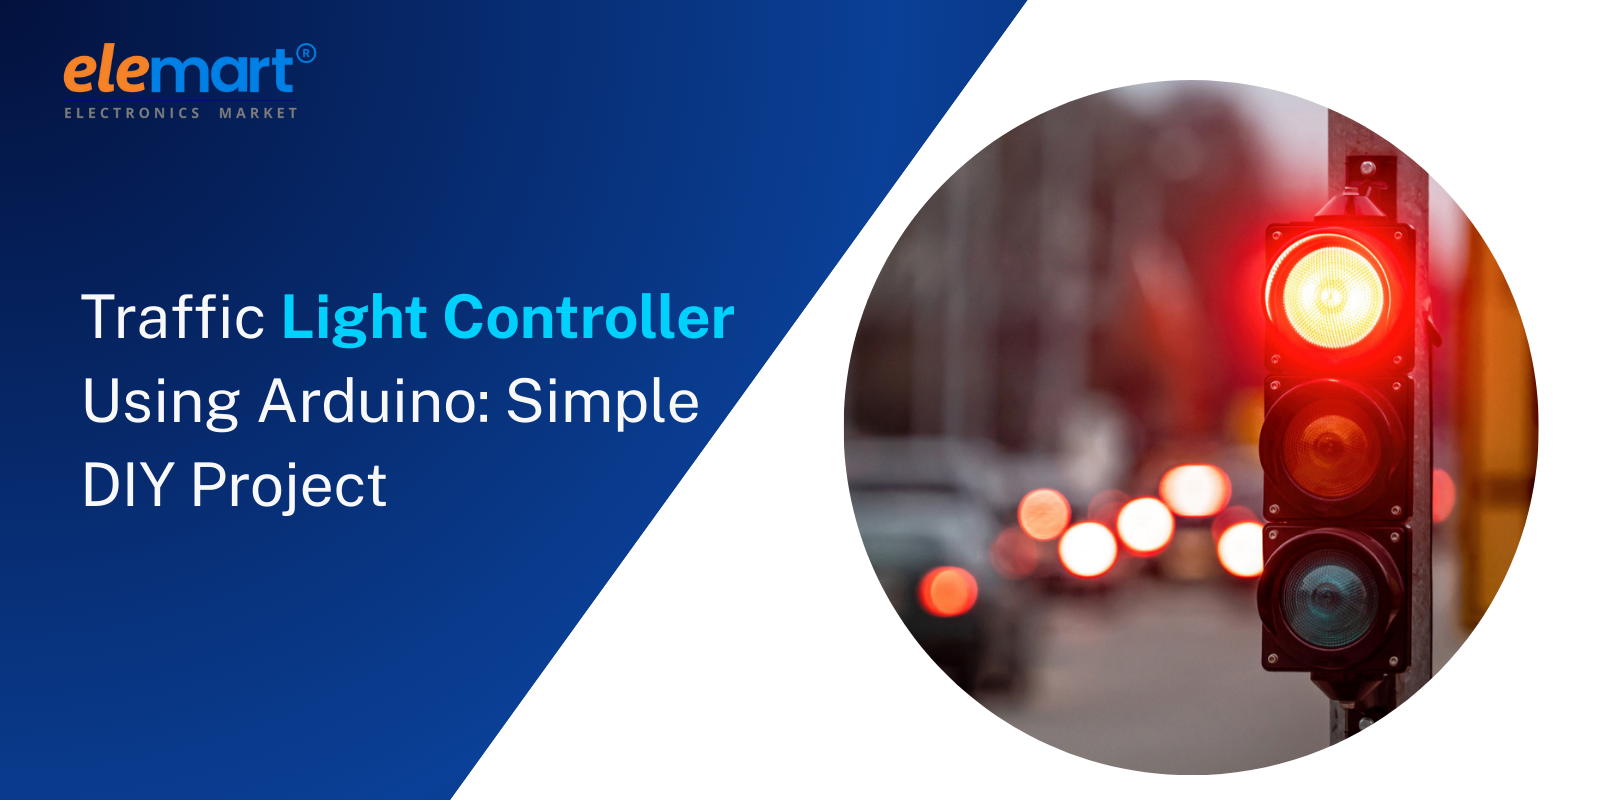
Traffic control systems are essential for the smooth flow of vehicles and pedestrians, and understanding how these systems work can be an exciting project for electronics enthusiasts. With the help of an Arduino Uno, you can build a simple Traffic Light Controller that mimics the logic used in real-world traffic lights. This DIY project is not only fun but also a great learning opportunity for anyone wanting to dive deeper into electronics and microcontroller programming.
In this blog, we’ll take you through the process of creating a traffic light controller using Arduino, and introduce a few ways to enhance the project with additional modules and advanced features like RFID card modules, sensor modules, and even a Raspberry Pi integration. Plus, we’ll show you how to source everything you need through trusted platforms like EleMart’s Electronic Components Online store.
Why Build a Traffic Light Controller?
A traffic light system involves a combination of logic, timing, and sensing to ensure smooth traffic flow. This DIY project gives you a basic understanding of how traffic signals work and how to control them using an Arduino Uno. By the end of this project, you will:
Understand how to control simple outputs like LEDs with an Arduino Uno
Learn to simulate real-world systems like traffic light sequences
Gain experience with Electronic sensors modules, such as IR or ultrasonic sensors, for vehicle detection
Have the opportunity to expand the project by integrating Raspberry Pi models and accessories for data analysis or automation
This is a great beginner project for anyone looking to explore the basics of electronics and microcontroller programming.
Essential Components Needed
To get started with this project, you'll need the following components. Fortunately, they can all be sourced from EleMart’s Electronic Components Online store:
Core Components
Arduino Uno: The microcontroller board that will control your traffic light system.
LEDs (Red, Yellow, Green): These will represent the traffic light signals.
220Ω Resistors: Used to limit the current flowing through the LEDs.
Breadboard and Jumper Wires: For making all the necessary connections.
Push Button (optional): Can be added for pedestrian crossings or emergency override.
Power Supply: A 9V battery or USB cable to power the Arduino Uno.
Optional Advanced Components
RFID Card Module: This can be used for access control, for instance, allowing authorized vehicles (like emergency vehicles) to have priority at traffic lights.
Sensor Modules: For detecting the presence of vehicles using ultrasonic or infrared sensors.
Display Modules: Such as 7-segment displays or LCDs, which can show countdowns or the status of the lights.
Raspberry Pi Models and Accessories: If you want to create a more advanced, data-driven traffic management system, you can integrate your Arduino project with a Raspberry Pi to monitor and control traffic lights remotely.
Integrated Circuits and Chips: Use for expanding the logic and functionality of your system, like adding more sensors or controlling multiple intersections.
With these components, you can build a fully functional traffic light system, which you can later upgrade by adding more advanced features.
Building the Traffic Light System
The core of your traffic light system will consist of three primary colors: Red, Yellow, and Green, which represent stop, caution, and go signals. In the simplest form, the Arduino will control these three LEDs to create a traffic light sequence.
You can wire the LEDs to the digital pins of the Arduino Uno, and use a push button (optional) to simulate a pedestrian crossing request, which would allow the pedestrian light to turn green for a set time.
If you're using sensor modules, they can detect the presence of cars or pedestrians at the intersection and control the traffic lights based on this input. This could involve using an IR sensor to detect vehicles and extend the green light duration for areas with high traffic.
Adding Advanced Features: RFID and Raspberry Pi Integration
Once you have the basic traffic light system running, you can start integrating more advanced features to make the system smarter and more dynamic.
RFID Card Module
One cool feature you can add is RFID-based access control. This module can be used to detect RFID cards and allow specific vehicles, such as emergency vehicles, to override the traffic light sequence. For example, when an ambulance passes by, the RFID scanner would detect the vehicle’s RFID tag, and the system would instantly turn the light green, ensuring the ambulance gets through without delay.
Raspberry Pi Integration
For those looking to go the extra mile, integrating a Raspberry Pi can elevate your traffic light controller. The Raspberry Pi models and accessories can be used to store and analyze traffic data, control multiple intersections, or even monitor live traffic. By connecting the Raspberry Pi to your Arduino system, you can manage real-time traffic data and implement smart city solutions, where the system learns traffic patterns and adjusts light timings accordingly.
For instance, a Raspberry Pi connected to a camera or sensor modules could gather data about vehicle flow, which could then be processed to optimize traffic light intervals across the city. This kind of smart traffic system is the future of urban mobility.
Where to Buy Components
To build your Traffic Light Controller system, EleMart provides a variety of electronic components for hobbyists, students, and professionals alike. From the Arduino Uno to display modules and sensor modules, you can find everything you need in one place. Additionally, EleMart offers the ability to buy IC online and purchase other necessary components like integrated circuits and chips, development boards, and more.
Whether you're just starting out or looking to enhance your project with Raspberry Pi accessories or advanced sensors, EleMart has you covered.
Educational Value of This Project
Building a traffic light controller using Arduino is more than just a fun DIY project; it’s a fantastic learning experience. Here’s what you’ll gain from it:
Microcontroller programming: Learn how to program the Arduino Uno to control lights, sensors, and other outputs.
Basic electronics: Understand how circuits work, including resistors, LEDs, and sensors.
System integration: Get hands-on experience connecting different modules and integrating them into one cohesive system.
Project scalability: This project can be expanded into a smart city traffic management system, offering endless opportunities for learning and innovation.
Conclusion
Creating a Traffic Light Controller using Arduino is a rewarding and educational project that teaches the fundamentals of embedded systems and electronic sensor modules. Once you’ve mastered the basics, you can explore advanced features like RFID integration and Raspberry Pi models and accessories to create a more intelligent and dynamic traffic management system.
Start your project today by gathering the components you need from EleMart’s Electronic Components Online store. Whether you’re working with basic components like Arduino Uno or incorporating display modules and sensor modules, EleMart has everything you need to bring your DIY traffic light controller to life.
