- Jul 29, 2026
Share this post on:
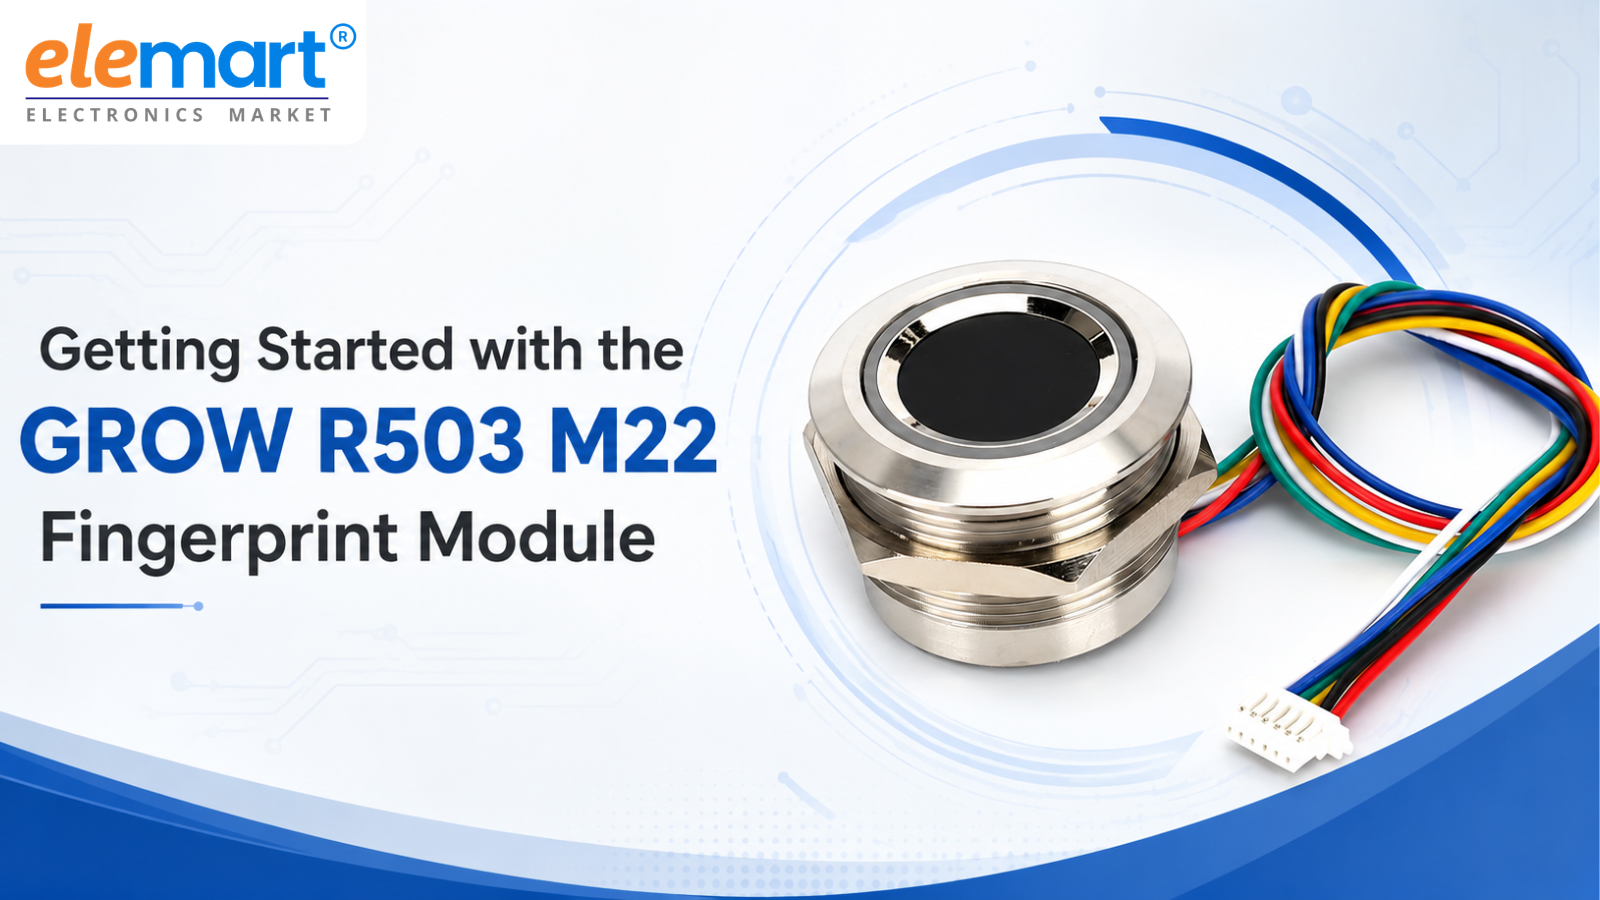
Fingerprint sensors have become a staple in modern security and access control projects. Among the many options available, the GROW R503 M22 stands out as a high‑performance capacitive fingerprint module. Unlike optical sensors that take a picture of your finger, capacitive sensors measure the tiny electrical charges in your skin ridges, making them more secure, harder to fool, and capable of reading dry or difficult fingers.
In this blog, I’ll walk you through everything you need to know to get the R503 M22 up and running with an Arduino or ESP32 – from wiring and library installation to enrolling fingerprints and matching them in your own projects.
Key Takeaways
- The GROW R503 M22 is a secure capacitive fingerprint sensor designed for Arduino, ESP32, and embedded projects.
- It supports up to 200 fingerprint templates for reliable user authentication.
- The module uses UART communication, making integration simple and straightforward.
- ESP32 supports direct 3.3V connectivity, while 5V Arduino boards require a logic level shifter.
- The GROW R503 library makes fingerprint enrollment, matching, and management easy.
- It is ideal for biometric door locks, attendance systems, smart safes, and IoT security applications.
- Proper wiring and correct baud rate settings ensure accurate and stable fingerprint recognition.
1. What Makes the R503 M22 Special?
- Capacitive sensing – more reliable and secure than optical sensors.
- Built‑in fingerprint algorithm – does all the heavy lifting (image processing, feature extraction, matching) on‑board.
- Storage for up to 200 fingerprints – plenty for most home or office projects.
- UART communication – simple serial interface, works with 3.3V and 5V microcontrollers (with proper level shifting).
- Compact size – the M22 variant comes with a small rectangular sensor and a 6‑pin connector.
- Low power consumption – ideal for battery‑powered devices.
2. Hardware Overview & Pinout
The GROW R503 M22 module has a 6‑pin connector (often a JST‑SH 1.0mm pitch). The pinout is as follows:
Pin | Name | Description |
|---|---|---|
1 | VCC | Power supply (3.3V – 5V, see note) |
2 | GND | Ground |
3 | TX | UART transmit (data from module) |
4 | RX | UART receive (data to module) |
5 | TOUCH | Touch detection output (goes HIGH when finger is placed) |
6 | WAKEUP | Wake‑up pin (optional, pull LOW to wake from sleep) |
Note on voltage: The R503’s logic level is 3.3V. If you’re using a 5V Arduino (like Uno), you must use a level shifter on the TX/RX lines to avoid damaging the module. Many breakout boards include an on‑board regulator and level shifting, so check your specific board. The VCC pin can often accept 3.3V–5V if a regulator is present, but always verify with the datasheet.
3. Wiring to an Arduino (3.3V logic, e.g., Arduino Pro Mini 3.3V)
If you’re using a 3.3V Arduino, you can connect directly:
R503 M22 | Arduino (3.3V) |
|---|---|
VCC | 3.3V |
GND | GND |
TX | Pin 2 (SoftwareSerial RX) |
RX | Pin 3 (SoftwareSerial TX) |
TOUCH | (optional) Pin 4 |
WAKEUP | (optional) GND or leave unconnected |
For a 5V Arduino Uno, use a level shifter on the TX/RX lines. The module’s VCC can be powered from the Arduino’s 3.3V pin (if current is sufficient) or an external 3.3V supply.
4. Wiring to an ESP32
The ESP32 works natively at 3.3V, so no level shifting is needed. You can use any two GPIO pins for software serial.
R503 M22 | ESP32 |
|---|---|
VCC | 3.3V |
GND | GND |
TX | GPIO 16 (RX2) |
RX | GPIO 17 (TX2) |
TOUCH | GPIO 4 (optional) |
5. Software Setup – Installing the Library
The R503 uses a different command set than the popular optical sensors (like R307). The best library to use is the GROW R503 Fingerprint Library by GROW. It’s available on GitHub and can be installed directly from the Arduino Library Manager.
- Open the Arduino IDE.
- Go to Sketch > Include Library > Manage Libraries…
- Search for “GROW R503”.
- Install the library by GROW (or a compatible one like “R503 Fingerprint Sensor Library”).
Alternatively, you can download it from GitHub and install it manually.
6. Enrolling a Fingerprint
Enrollment is the process of capturing a fingerprint and storing its template in the module’s memory. The R503 can store up to 200 fingerprints, each identified by an ID number (1–200).
Code for Enrollment
#include <SoftwareSerial.h>
#include <GROW_R503.h>

// Define RX/TX pins for software serial
#define RX_PIN 2
#define TX_PIN 3

SoftwareSerial mySerial(RX_PIN, TX_PIN);
GROW_R503 r503(&mySerial);

void setup() {
  Serial.begin(9600);
  mySerial.begin(57600);   // R503 default baud rate

  Serial.println("Fingerprint Enrollment");

  if (r503.verifyPassword()) {
    Serial.println("Module connected!");
  } else {
    Serial.println("Module not found. Check wiring.");
    while (1);
  }
}

void loop() {
  Serial.println("Place your finger on the sensor...");

  int id = 1;  // Choose an ID (1-200)
  int result = r503.enrollFingerprint(id);

  if (result == FINGERPRINT_OK) {
    Serial.println("Enrollment successful!");
  } else if (result == FINGERPRINT_ALREADY_EXISTS) {
    Serial.println("ID already used. Try another.");
  } else if (result == FINGERPRINT_ENROLL_FAILED) {
    Serial.println("Enrollment failed. Try again.");
  }

  delay(2000);
}
How it works:
- The function
enrollFingerprint(id)guides you through the process: it asks you to place your finger, then remove it, then place it again. - The module captures the fingerprint, extracts a template, and stores it under the given ID.
- The built‑in LED on the sensor will blink during capture.
7. Matching a Fingerprint
Once you have enrolled fingerprints, you can use the module to identify or verify a user.
Code for Fingerprint Matching
#include <SoftwareSerial.h>
#include <GROW_R503.h>

SoftwareSerial mySerial(2, 3);
GROW_R503 r503(&mySerial);

void setup() {
  Serial.begin(9600);
  mySerial.begin(57600);

  if (r503.verifyPassword()) {
    Serial.println("Module ready!");
  } else {
    Serial.println("Module not found.");
    while (1);
  }
}

void loop() {
  Serial.println("Place your finger...");

  int id = r503.getFingerprintID();

  if (id > 0) {
    Serial.print("Fingerprint matched! ID: ");
    Serial.println(id);
    // Add your own action here (e.g., unlock door)
  } else if (id == FINGERPRINT_NOTFOUND) {
    Serial.println("No match found.");
  } else {
    Serial.println("Error reading fingerprint.");
  }

  delay(1000);
}
Explanation:
getFingerprintID()returns the ID of a matched fingerprint (1–200) or a negative error code.- You can use this ID to trigger an action, like unlocking a door or logging access.
8. Advanced Features
Touch Detection
The TOUCH pin goes HIGH when a finger is placed on the sensor. You can use this as an interrupt to wake your microcontroller from sleep, saving power.
attachInterrupt(digitalPinToInterrupt(touchPin), onTouch, RISING);Deleting a Fingerprint
r503.deleteFingerprint(id);Emptying the Database
r503.emptyDatabase();Changing the Baud Rate
The default baud rate is 57600. You can change it (e.g., to 115200) using:
r503.setBaudRate(115200);9. Troubleshooting Common Issues
Problem | Possible Solution |
|---|---|
Module not responding | Check wiring, especially TX/RX. Ensure baud rate matches (default 57600). |
Fingerprint not detected | Press finger firmly and flat. Clean the sensor surface. |
Enrollment fails after first scan | Make sure you remove and re‑place the same finger when prompted. |
“ID already in use” | Choose a different ID or delete the existing one. |
5V Arduino not working | Use a logic level converter on TX/RX lines. |
10. Project Ideas
- Biometric Door Lock – use a solenoid or servo with the fingerprint match.
- Attendance System – log user IDs with timestamps to an SD card or cloud.
- Secure Safe – combine with a keypad for two‑factor authentication.
- Custom Wake‑up Alarm – only you can turn it off!
Conclusion
- The GROW R503 M22 is a powerful, reliable, and easy-to-use capacitive fingerprint module that brings professional-grade biometric authentication to DIY and embedded projects. Available through EleMart, this module offers a perfect combination of high accuracy, fast fingerprint recognition, compact design, low power consumption, built-in fingerprint memory, secure data storage, and simple UART communication interface.
- With simple wiring and strong library support, you can build a fully functional fingerprint recognition system in under an hour. Whether you're creating a smart door lock, attendance system, secure locker, home automation project, or simply exploring biometric technology, the R503 M22 delivers dependable performance and seamless integration.
- If you're looking for a compact, accurate, and feature-rich fingerprint sensor, the GROW R503 M22 is a fantastic choice. Give it a try and let your creativity unlock the next generation of secure and intelligent electronics projects!
Have you used the R503 in a project? Share your experience in the comments below!